Showing posts with label DIY. Show all posts

Wednesday, April 10, 2019

Custom Built In Bookcases


In our last home I had installed a large built in bookcase. After moving to this home, as we tried to unpack, it quickly became apparent that it would need to be a high priority to create another so that we could find homes for all of our belongings.


With a base of 2x4s we can use prebuilt upper cabinets. The handles were swapped out to create a nicer look and I created this pretty counter top for a custom fit.


Building in the shelves took a couple of days and quite a few trips up and down the stairs to make sure that everything was the perfect fit


I was so excited to start unpacking everything that I got it under way before I even got to painting the walls or installing the base trim.


That created a home for most of my books but the kids' books still needed to have a home. This window alcove looked like the perfect kid nook for their bookcases.


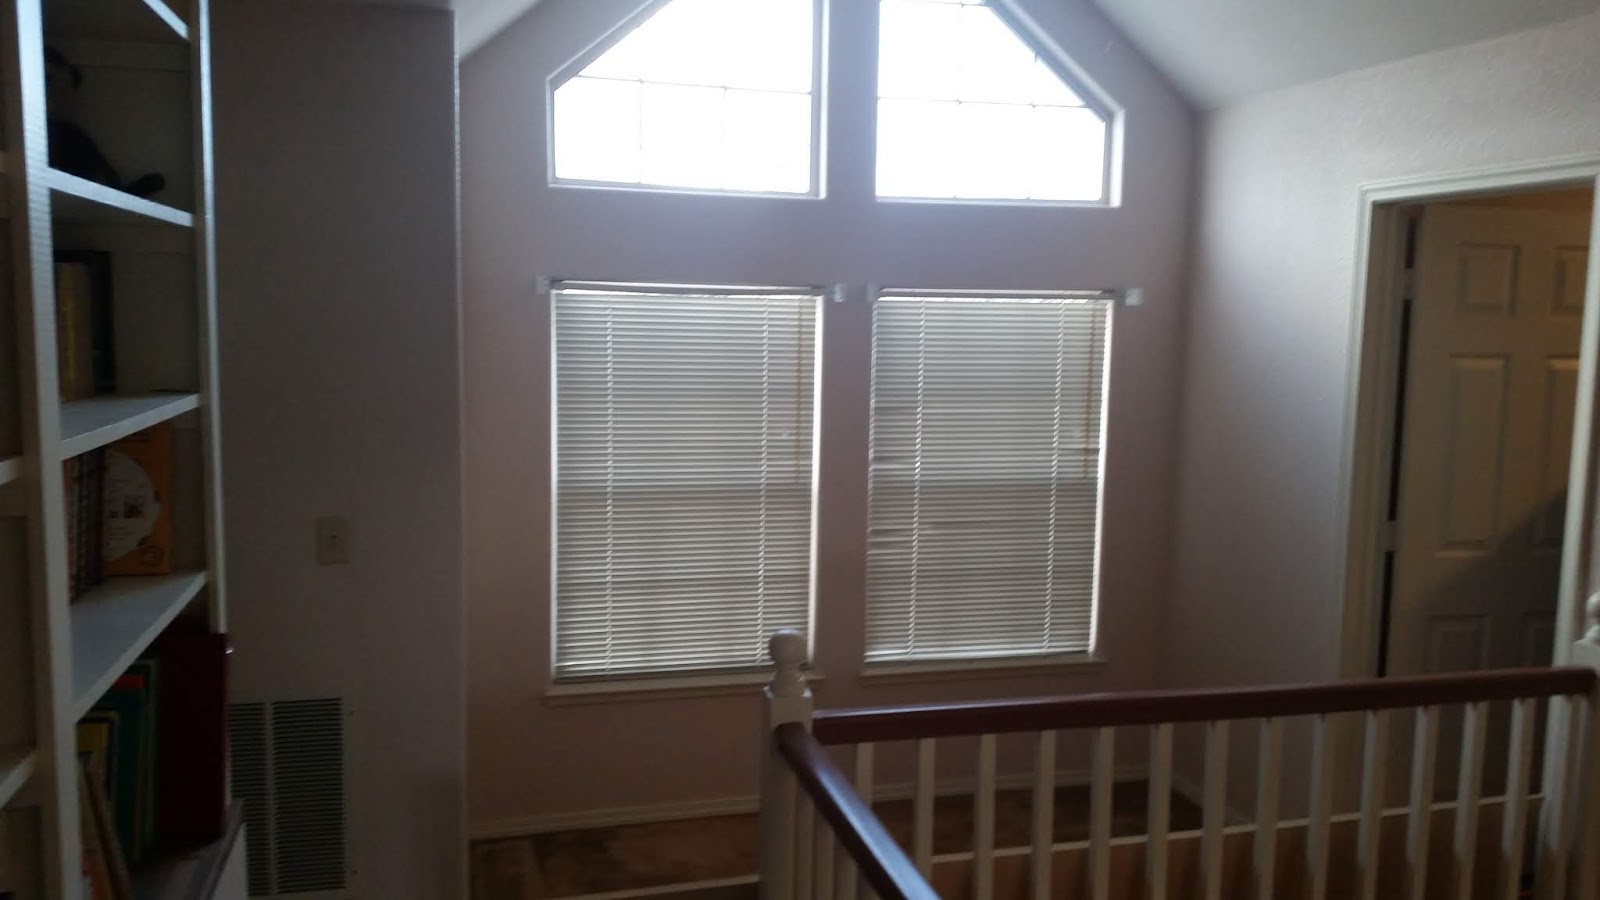
With the window seat installed I started to build their bookcases on either side of the windows.


Two large bookcases with storage underneath will be perfect to complete their space.


All in all it took me most of a week to get this done but the end result is so pretty and all of our beautiful books have a home!

Monday, April 8, 2019

Bunny Hay Feeders


Our sweet bunnies needed a hay feeder and litter box that could accommodate all 3 of them. Since what we wanted in the size we needed wasn't available we decided to make our own. Ein and I spent the day in the garage working on these two feeders and they turned out so cute.

Clearly Hera approves:


The top even flips open for easy loading

Thursday, April 4, 2019

Tea Light Candle Holder


I needed a centerpiece for my table when I was staging my last home. I cut a 4x4 down to about a 4x3 and then used a hole saw to make openings to fit my pretty blue glass tea light holders.


A little stain and it was table ready. Simple and cheap and just what I needed for staging.


Thursday, March 21, 2019

Hot Tub Removal

On the plus side, when we bought this house it came with a pool. BUT it also came with a nasty broken hot tub that I was pretty sure one of my kids would eventually fall into.

The old owner had already drilled holes in the bottom for drainage so there was no saving this thing. I called around and I was told it was going to cost $400 to have a company come out and remove it but then I realized, hey, I have a respirator and a sawzall. I can do this myself for the cost of a single dump fee!

***If you are going to do this, make sure that any power and/or water lines are disconnected. You don't want any nasty surprises (especially if you're standing in wet mushy mess that wouldn't mix well with electrical)***


Seriously, wear the respirator. Fiberglass is not something you want to be breathing.


Once I had the main cuts done I did have to bring in a sledgehammer and crowbar to help me break up the pieces along with my sawzall.


With all of the junk out of the way I was ready to start framing in the replacement floor. First I checked on what supports I already had in there but it turned out that I was close enough to just tie in to the existing structure (but I still added another anyway because I like to over engineer).


And voila, we have a flat deck! I still need to sand down the existing deck and stain the whole thing but it is now kid safe!